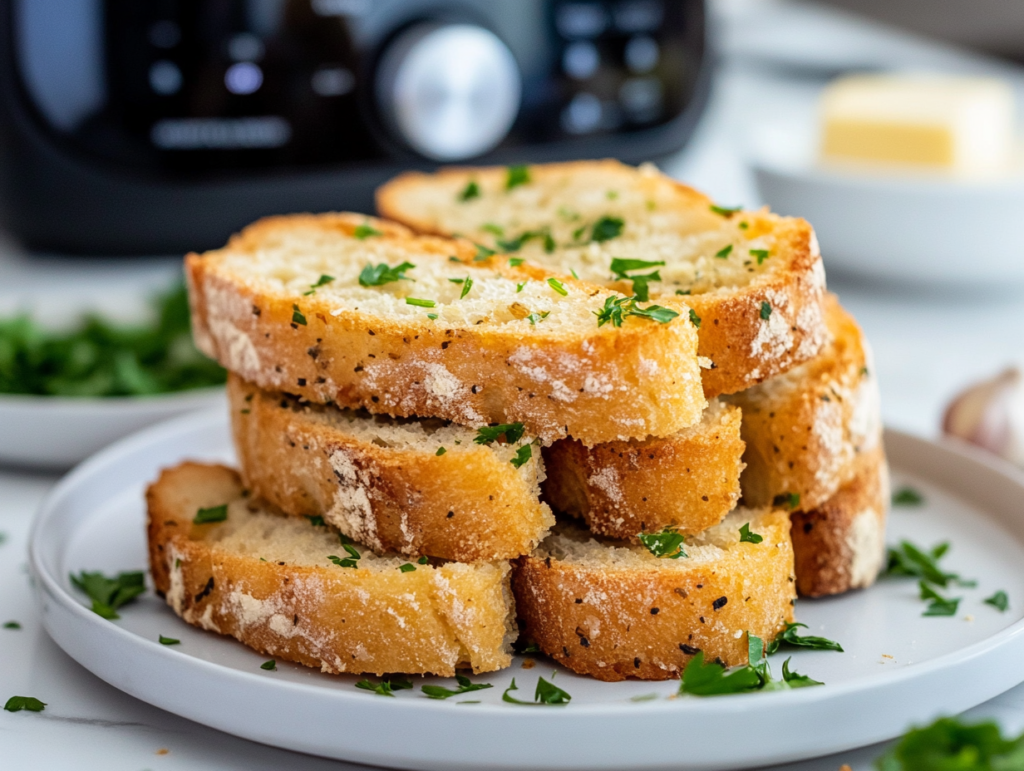
Who doesn’t love the buttery, crispy goodness of garlic bread? Whether served as a side dish, an appetizer, or a snack, garlic bread is a timeless favorite. Using an air fryer takes this classic dish to a whole new level, offering quicker preparation and a perfectly crispy texture. In this article, we’ll walk you through the easiest and most delicious recipe for making air fryer garlic bread.
INGREDIENTS FOR AIR FRYER GARLIC BREAD
To make delicious air fryer garlic bread, you only need a handful of simple ingredients. Here’s everything you’ll need, along with some helpful tips to make the best choices for your recipe.
Essential Ingredients
- Bread:
- Choose a sturdy bread like a French baguette, Italian loaf, or even ciabatta. These hold up well in the air fryer and give you that satisfying crunch.
- If you prefer softer garlic bread, go for sliced sandwich bread.
- Butter:
- Use unsalted butter to have better control over the saltiness of your garlic bread. Make sure it’s softened for easy spreading.
- If you’re looking for a healthier alternative, olive oil or a vegan butter substitute works great too.
- Garlic:
- Fresh garlic is key for authentic flavor. You’ll need 2–3 cloves minced or finely grated.
- Garlic powder can be used in a pinch, but fresh garlic adds a better aroma and taste.
- Parsley or Herbs:
- Fresh parsley is the classic choice for a bright, herby finish. You can also mix in dried oregano, basil, or thyme for added flavor.
- Salt and Pepper:
- A pinch of salt enhances the butter and garlic flavor, while freshly cracked pepper adds a little kick.
- Optional Add-Ons:
- Grated parmesan cheese for a cheesy twist.
- Mozzarella or shredded cheese if you love gooey garlic bread.
- A dash of red pepper flakes for a hint of spice.
Tips for Choosing the Best Ingredients
- Bread Selection: Pick bread that suits your texture preference—crispy, soft, or a mix of both.
- Butter Substitutes: For a vegan version, opt for plant-based butter or olive oil. Coconut oil is another alternative, but it will slightly alter the flavor.
- Fresh Herbs vs. Dried: Fresh parsley or herbs make a big difference in taste and appearance. Dried herbs can be used, but be sure to use them sparingly, as they’re more concentrated.
STEP-BY-STEP RECIPE FOR AIR FRYER GARLIC BREAD
Making garlic bread in the air fryer is quick, easy, and hassle-free. Follow these steps to create the perfect golden and flavorful slices in just a few minutes.
1. Prepping the Ingredients
Before you start, make sure you have all your ingredients ready to go. This includes softening the butter and finely mincing the garlic.
- Soften the Butter: Leave your butter out at room temperature for about 20–30 minutes, or microwave it for 10–15 seconds until it’s soft and spreadable.
- Mince the Garlic: Use a garlic press or finely chop the garlic with a sharp knife. The smaller the pieces, the better the flavor spreads throughout the butter mixture.
2. Make the Garlic Butter Mixture
This step is where all the magic happens, blending the ingredients to create a buttery, garlicky spread.
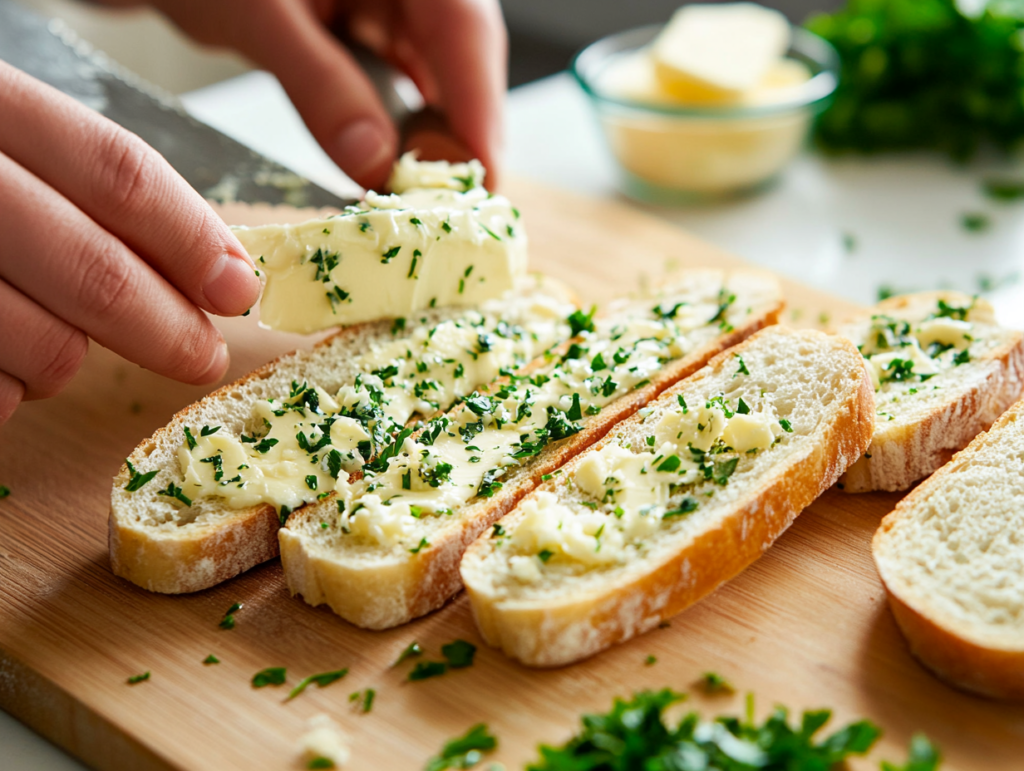
- Combine the softened butter, minced garlic, chopped parsley, and a pinch of salt and pepper in a small bowl.
- Mix thoroughly with a spoon or spatula until all ingredients are evenly incorporated.
- For extra flavor, you can stir in grated parmesan cheese, a sprinkle of Italian seasoning, or a pinch of red pepper flakes.
3. Prepare the Bread
Get your bread slices or loaf ready for assembly.
- For Sliced Bread: Lay the slices flat on a clean surface or a cutting board.
- For a Loaf: Slice the bread in half lengthwise, creating two long pieces.
- Spread the garlic butter mixture generously over the bread. Make sure to cover the surface evenly for consistent flavor.
4. Assemble the Garlic Bread
- Place the buttered bread directly into your air fryer basket. Avoid stacking the bread to ensure even cooking. If needed, cook in batches.

Pro Tips for Preparation
- Use a silicone brush to apply the garlic butter mixture for even coverage.
- If adding cheese, sprinkle it on top after spreading the butter. For gooey cheese, add it during the last 1–2 minutes of cooking.
COOKING INSTRUCTIONS FOR AIR FRYER GARLIC BREAD
- Preheat the Air Fryer: Set to 350°F (175°C) and preheat for 3–5 minutes.
- Arrange the Bread: Place garlic-buttered bread in a single layer in the basket. Use parchment paper if needed to prevent sticking.
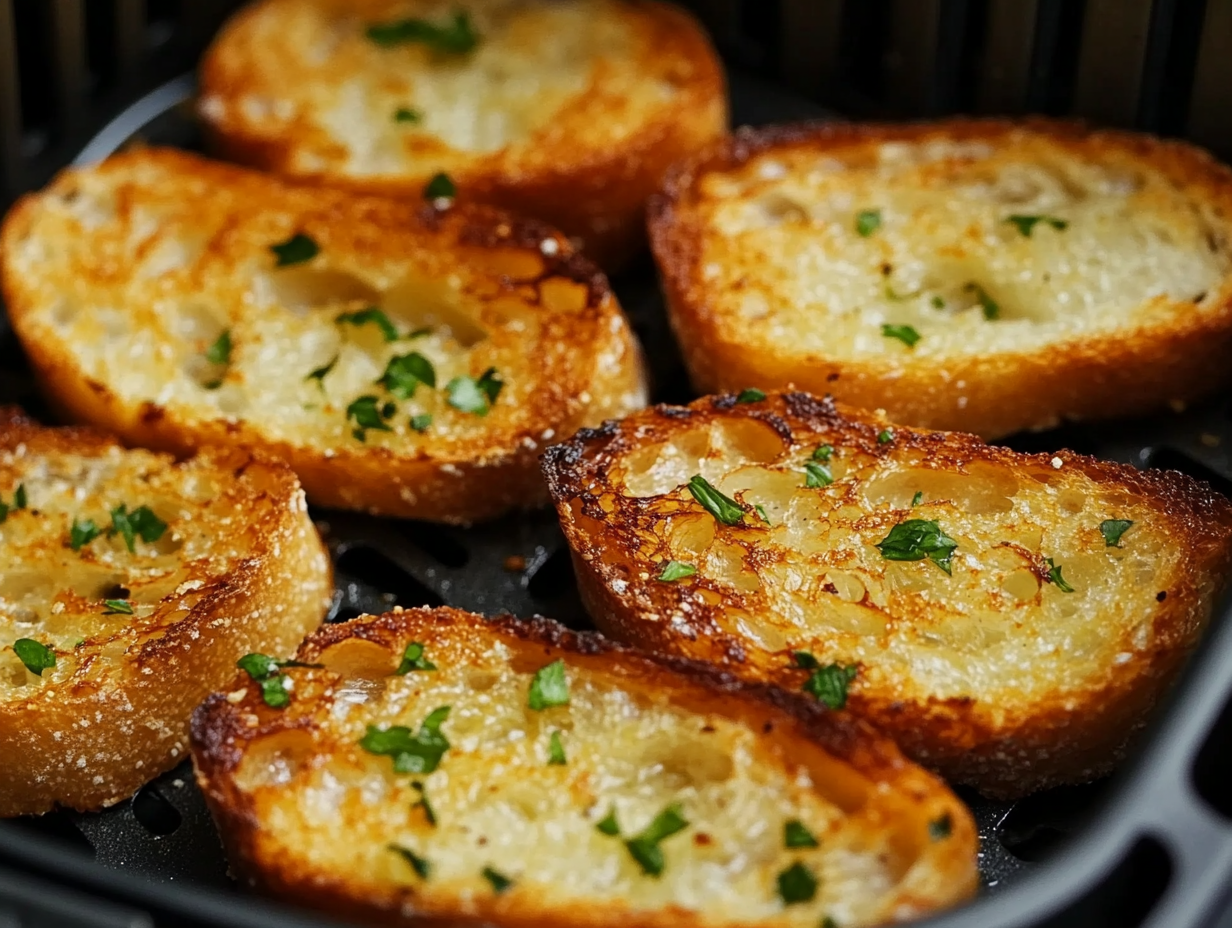
- Cook: Air fry for 4–6 minutes until golden and crispy. Flip halfway for thicker slices.
- Optional Cheese: Add cheese 2 minutes before the end of cooking for a gooey finish.
- Check Doneness: Remove when the edges are golden and the butter is bubbly.
Pro Tips:
- Avoid overcrowding for even cooking.
- Monitor closely to prevent burning, as garlic bread cooks quickly.
SERVING SUGGESTIONS AND VARIATIONS FOR AIR FRYER GARLIC BREAD
How to Serve Garlic Bread
Garlic bread is a versatile dish that pairs well with many meals. Here are some ideas:
- With Pasta Dishes: Serve it alongside classics like spaghetti, lasagna, or Alfredo pasta to soak up the sauce.
- As an Appetizer: Cut into smaller slices and serve with marinara sauce or a creamy dip.
- With Soups and Stews: Pair it with tomato soup, minestrone, or hearty stews for a warm, comforting meal.
- Snack or Side Dish: Enjoy it as a quick snack or a side dish for salads and roasted vegetables.
Creative Variations
- Cheesy Garlic Bread: Sprinkle mozzarella or parmesan on top before air frying for a melty, cheesy treat.
- Herbed Garlic Bread: Add dried herbs like oregano, thyme, or rosemary to the garlic butter mix for extra flavor.
- Spicy Garlic Bread: Sprinkle red pepper flakes for a kick of heat.
- Vegan Option: Use plant-based butter and skip the cheese for a delicious vegan version.
- Loaded Garlic Bread: Top with cooked bacon bits, caramelized onions, or chopped jalapeños for an indulgent twist.
Tips for Serving
- Keep Warm: If serving multiple batches, place finished slices in a warm oven (200°F/95°C) until ready.
- Cut to Size: Slice into smaller pieces for a party platter or kid-friendly portions.
HEALTH BENEFITS OF AIR FRYER GARLIC BREAD
Making garlic bread in an air fryer isn’t just convenient—it can also be a healthier choice compared to traditional methods. Here’s why:
1. Lower Oil and Butter Usage
- Air frying uses circulating hot air to achieve a crispy texture, reducing the need for excessive oil or butter.
- You can control the amount of butter used, opting for just enough to enhance flavor without overloading on fats.
2. Fewer Calories Compared to Deep Frying
- Unlike deep-fried breadsticks or similar options, air fryer garlic bread contains fewer calories while maintaining a satisfying crunch.
3. Whole-Grain or Healthier Bread Options
- You can swap traditional white bread with whole-grain, multigrain, or gluten-free bread for added fiber and nutrients.
4. Nutritional Boost from Garlic and Herbs
- Garlic: Packed with antioxidants and compounds like allicin, garlic supports heart health and boosts the immune system.
- Herbs: Fresh parsley or other herbs add vitamins A, C, and K, enhancing the overall nutritional value.
5. Customizable for Dietary Needs
- Vegan-friendly butter or olive oil ensures the recipe suits plant-based diets.
- Reduced-fat cheese options help lower saturated fat content for a heart-healthier version.

TIPS AND TRICKS FOR PERFECT AIR FRYER GARLIC BREAD
Best Texture
- Use medium-thick bread for crispy edges and a soft center.
- Cut evenly and avoid stacking slices in the air fryer.
Flavor Enhancements
- Mince fresh garlic for the best taste.
- Add parmesan, mozzarella, or Italian seasoning for extra richness.
Common Mistakes
- Avoid overcrowding; cook in batches if needed.
- Keep the temperature below 375°F (190°C) to prevent burning.
Storing and Reheating
- Leftovers: Refrigerate in an airtight container for up to 3 days or freeze for 2 months.
- Reheat: Use the air fryer at 325°F (160°C) for 2–3 minutes or wrap in foil and warm in the oven.
Discover More Recipes You’ll Love
If you enjoyed learning how to make air fryer garlic bread, you’re going to love exploring more delicious and easy-to-make recipes! Try our flavorful Air Fryer Halloumi Recipe, a quick and crispy delight perfect as a snack or appetizer. Pair your garlic bread with a comforting bowl of Creamy Chicken Tortellini Soup for a hearty meal that’s full of rich flavors. For something lighter but equally satisfying, our Cabbage Soup Recipe is a healthy option that’s both nutritious and delicious. These recipes will inspire you to create meals that everyone at the table will enjoy!
FAQs ABOUT AIR FRYER GARLIC BREAD
How long to heat up garlic bread in an air fryer?
Reheat garlic bread in the air fryer at 325°F (160°C) for 2–3 minutes. This restores the crispiness and warms it through without overcooking.
How do you toast bread in an air fryer?
To toast plain bread, set the air fryer to 350°F (175°C) and cook for 2–4 minutes. Flip halfway through for even browning. Adjust time based on how toasted you prefer it.
What temperature do you air fry Texas toast at?
Cook Texas toast at 375°F (190°C) for 5–6 minutes. If it’s frozen or topped with cheese, it may take an additional 1–2 minutes to achieve the desired texture.
How long does it take to cook frozen bread in the air fryer?
Frozen bread takes 3–5 minutes at 350°F (175°C). For garlic or cheese-topped frozen bread, cook for 5–7 minutes, checking for crispness.
CONCLUSION
Air fryer garlic bread is the perfect combination of quick, easy, and delicious. By using fresh ingredients and the versatile air fryer, you can create golden, crispy slices with minimal effort. Whether you enjoy it as a side dish, appetizer, or snack, garlic bread never fails to impress.
This recipe offers endless customization options—from cheesy toppings to vegan alternatives—allowing you to tailor it to your taste and dietary preferences. With the helpful tips and tricks provided, you’re now equipped to make garlic bread that’s perfectly crispy, flavorful, and ready in minutes.
So, grab your air fryer and give this recipe a try! Once you taste how amazing homemade garlic bread can be, you’ll never go back to store-bought. Enjoy!

